


In today’s digital age, securing your online privacy is more important than ever. One of the easiest and most effective ways to protect your internet activity is by using a Virtual Private Network (VPN). If you are an iPhone user, installing a VPN on your device can safeguard your personal information and allow you to browse the web anonymously. In this guide, we will walk you through the process of installing a VPN on your iPhone and explain its benefits.
Why Use a VPN on Your iPhone?
Using a VPN on your iPhone offers several advantages:
- Enhanced Security: Encrypts your internet connection, protecting your data from hackers.
- Privacy Protection: Masks your IP address, ensuring your online activities remain private.
- Access to Restricted Content: Allows you to bypass geo-restrictions and access content from different regions.
- Safe Public Wi-Fi Usage: Provides protection when using unsecured public Wi-Fi networks.
How to Choose the Right VPN for Your iPhone
Before you install a VPN, consider the following factors:
- Security Features: Look for strong encryption, a no-logs policy, and a kill switch.
- Ease of Use: The app should have a user-friendly interface.
- Speed and Performance: Ensure the VPN offers fast connections suitable for streaming and browsing.
- Customer Support: Opt for a VPN with reliable customer support.
- Pricing: Compare plans and look for free trials or money-back guarantees.
Steps to Install a VPN on Your iPhone
Method 1: Installing via the App Store
- Open the App Store: On your iPhone, search for a reputable VPN provider (e.g., NordVPN, ExpressVPN, or Surfshark).
- Download and Install: Tap ‘Get’ to download and install the app.
- Create an Account: Open the app and sign up or log in.
- Allow Permissions: The app may request permission to add VPN configurations; tap ‘Allow’.
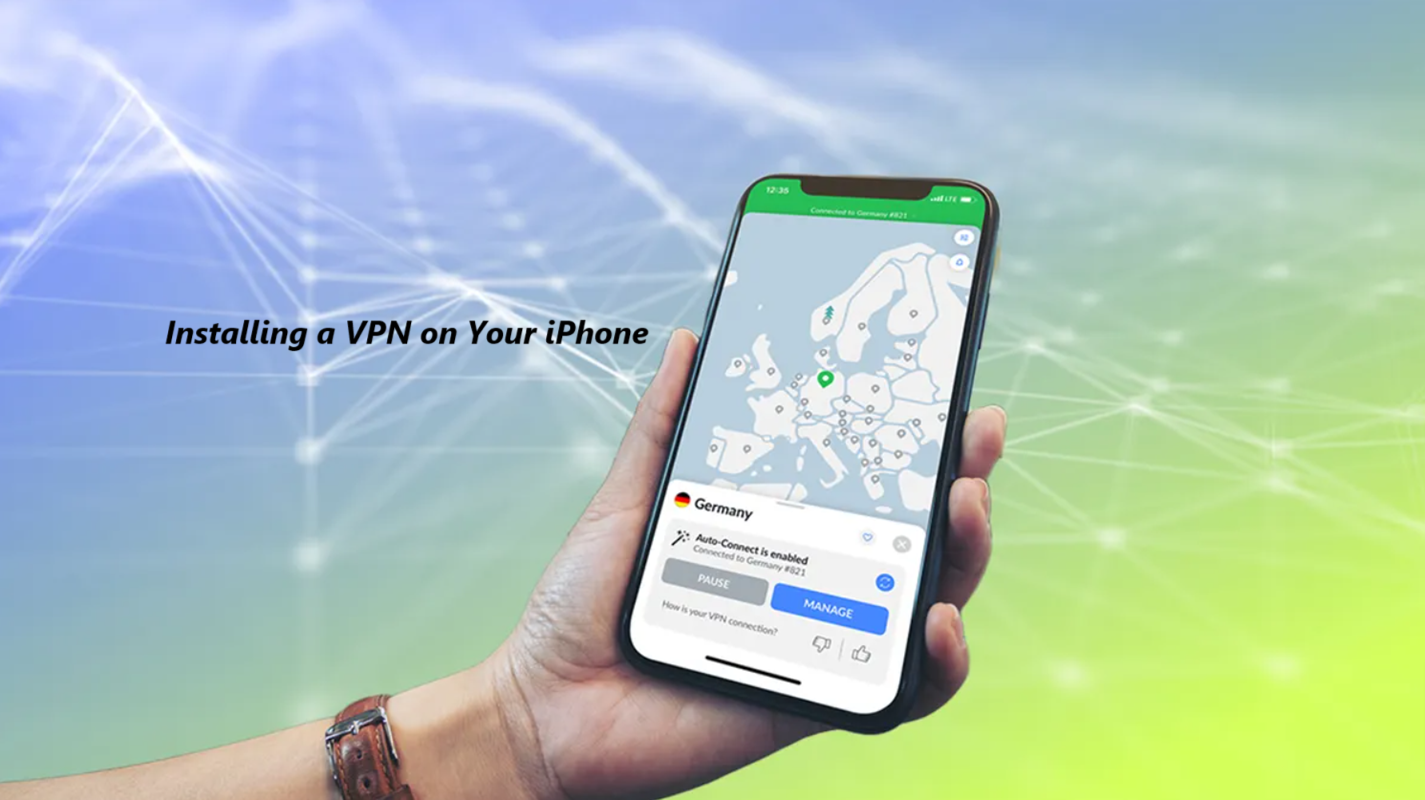
- Connect to a Server: Select a server location and tap ‘Connect’.
- Verify Connection: Ensure the VPN icon appears on your iPhone’s status bar.
Method 2: Manual VPN Configuration
- Open Settings: Go to ‘Settings’ on your iPhone.
- Select VPN: Tap ‘General’ > ‘VPN & Device Management’ > ‘Add VPN Configuration’.
- Enter VPN Details: Provide the required information (e.g., type, server, remote ID, and login credentials) from your VPN provider.
- Save and Connect: Tap ‘Done’ and toggle the VPN switch to connect.
Testing Your VPN Connection
To confirm that your VPN is working:
- Visit a website like ‘whatismyipaddress.com’ to check if your IP address has changed.
- Test your browsing speed to ensure optimal performance.
Tips for Using a VPN on Your iPhone Effectively
- Enable Auto-Connect: Automatically activate the VPN when using public Wi-Fi.
- Switch Servers: Change server locations to access different regional content.
- Keep the App Updated: Regularly update the VPN app for improved security and performance.
Conclusion
Installing a VPN on your iPhone is a simple yet powerful way to enhance your online security and privacy. By following the steps outlined above, you can safeguard your personal data, browse anonymously, and access geo-restricted content effortlessly. Choose a reliable VPN provider and enjoy a secure browsing experience on your iPhone.